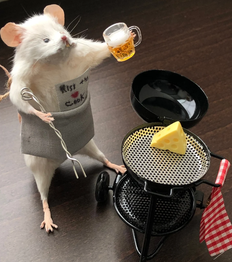
 There have been some famous mice that we all know, and probably loved at one time or another... Mickey, Stuart Little, Jerry (Tom's buddy), Mighty Mouse and Speedy Gonzalez to name a few! A mouse with character goes great with story time, but one place comes to mind that you don't want to see any mice... inside your outdoor grill! Keeping mice out of an outdoor grill requires a combination of preventive measures and regular maintenance. Mice are attracted to grills because they can find food remnants and shelter in the nooks and crannies. Here's a step-by-step guide to help you keep mice away from your grill!
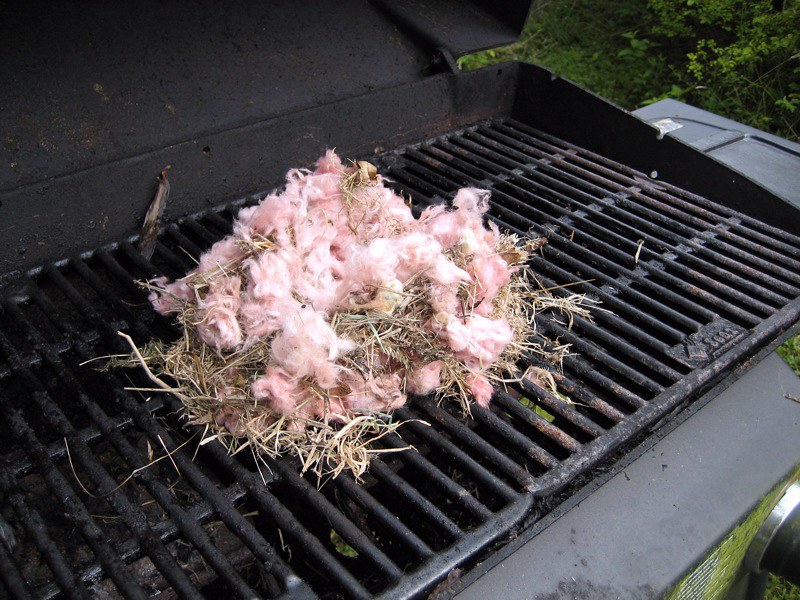
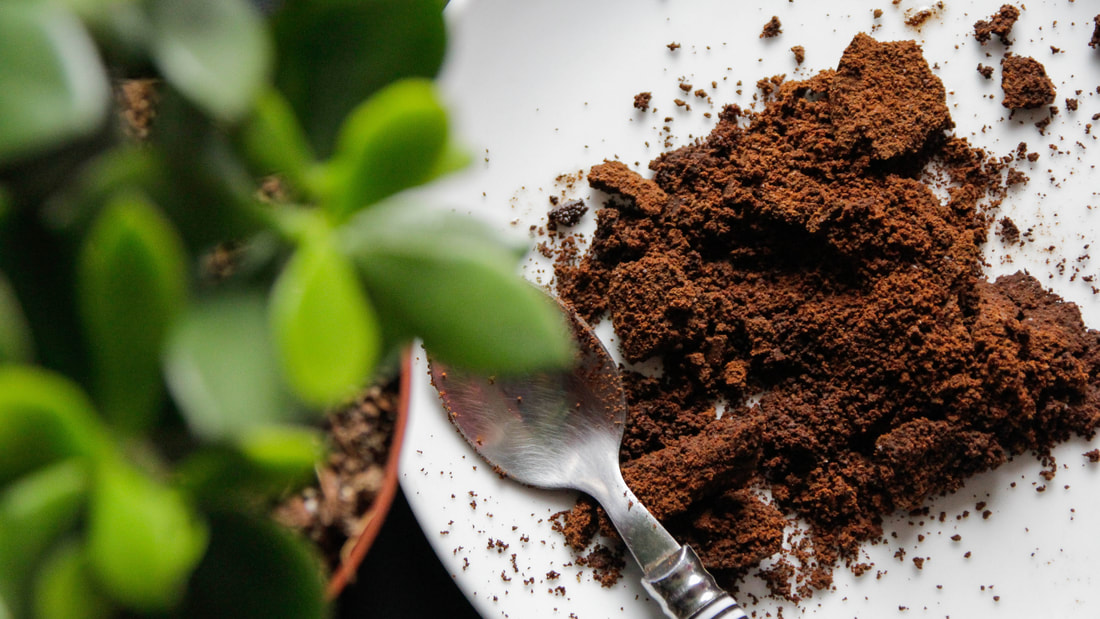
5. Elevate the grill: If possible, place the grill on a platform or stand to keep it off the ground. Mice can be discouraged by the lack of easy access. 6. Seal openings and gaps: Inspect your grill for any openings or gaps, no matter how small they may be. Mice can squeeze through tiny spaces, so use steel wool or metal mesh to block these entry points. 7. Set up traps: Consider using humane traps around the grill area to catch any mice that might be lingering. Check the traps regularly and release any captured mice far away from your property. 8. Use natural deterrents: Certain scents can be unappealing to mice. Try placing peppermint oil-soaked cotton balls or sachets around the grill area. Other strong-smelling substances, like cayenne pepper or used coffee grounds, can also help deter mice. If there's a plug nearby, some people also try the Ultrasonic Rodent Repellers found at hardware stores or online. 9. Remove other attractants: Mice are attracted to food and water sources. Make sure there are no open garbage bins, bird feeders, or standing water nearby that could entice them to stay. 10. Regular inspection and maintenance: Routinely inspect your grill and the surrounding area for any signs of mice activity. The sooner you address any issues, the easier it will be to keep mice away. By following these steps, you can make your outdoor grill less appealing to mice and reduce the chances of them taking up residence in or around it. Inferno Grill Cleaning provides professional grill cleaning services in the Cleveland, Ohio area. We are not always the brains behind every blog post, in fact, ChatGPT created this one for us, but we aren't afraid to sprinkle in our opinions. Thanks for visiting! If you're in Cleveland, give us a call and we'll clean your grill for you!
0 Comments
In the mood for a good laugh? We asked ChatGPT for some grill-related humor and it served us up some smiles! Enjoy!1. Why did the grill break up with its spatula? It said, "You flip me out too much!" 2. What did one charcoal briquette say to the other at the BBQ party? "Man, it's getting hot in here!" 3. Why did the grill go to therapy? It had too many "burning" issues! 4. Why was the chef always calm at the grill? Because he knew how to keep his "steaks" cool! 5. Why did the grill refuse to attend the party? It didn't want to be grilled about its past! 6. What's a grill's favorite type of music? Heavy metal! 7. Why did the burger break up with the hot dog? It found a "grater" love! 8. What do you call a chicken who likes to man the grill? The "Barbe-Cutie"! 9. How do you fix a broken grill? With a "barbecue"-cue! 10. Why did the grill go on strike? It wanted better "working condiments"! Inferno Grill Cleaning provides professional grill cleaning services in the Cleveland, Ohio area. We are not always the brains behind every blog post, in fact, ChatGPT created this one for us (we're just not that funny)! Also, we aren't afraid to sprinkle in our opinions. Thanks for visiting! If you're in Cleveland, give us a call and we'll clean your grill for you! Cleaning a grill is essential for maintaining its performance, preventing flare-ups, and ensuring the longevity of the equipment. The cleaning process may vary slightly depending on whether you have a gas grill or a charcoal grill. Here's a general guide on how to clean a grill: Materials you'll need:
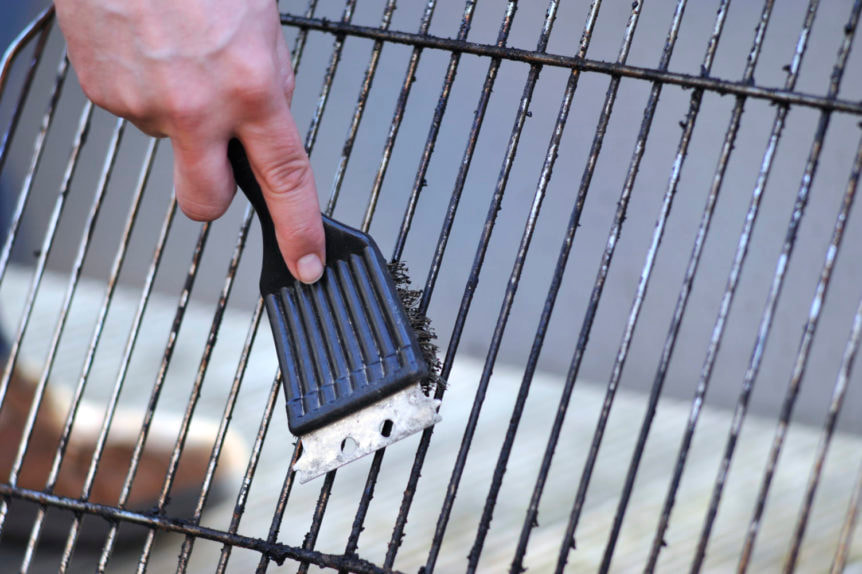
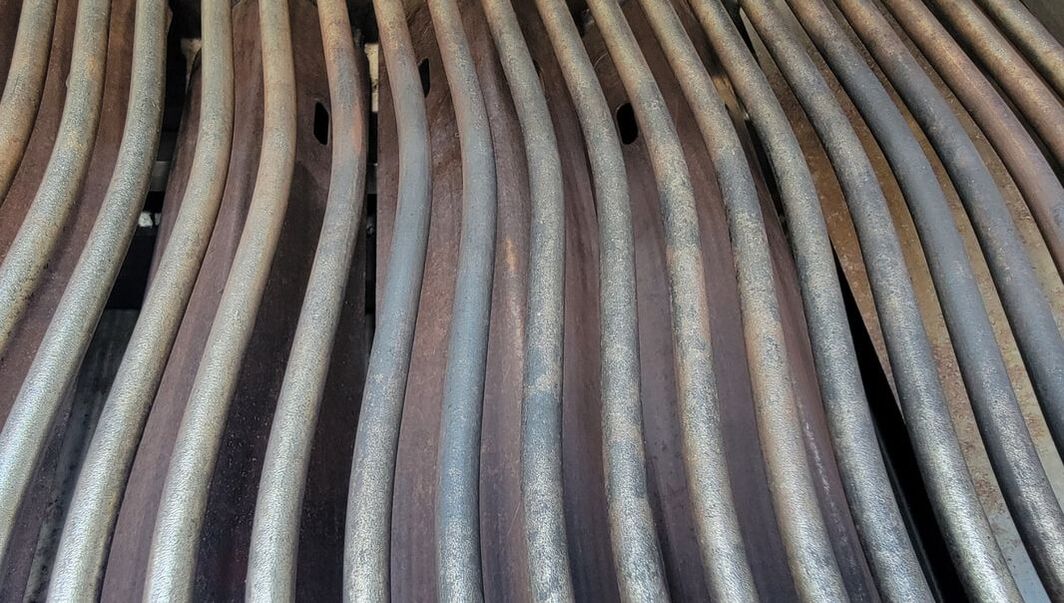
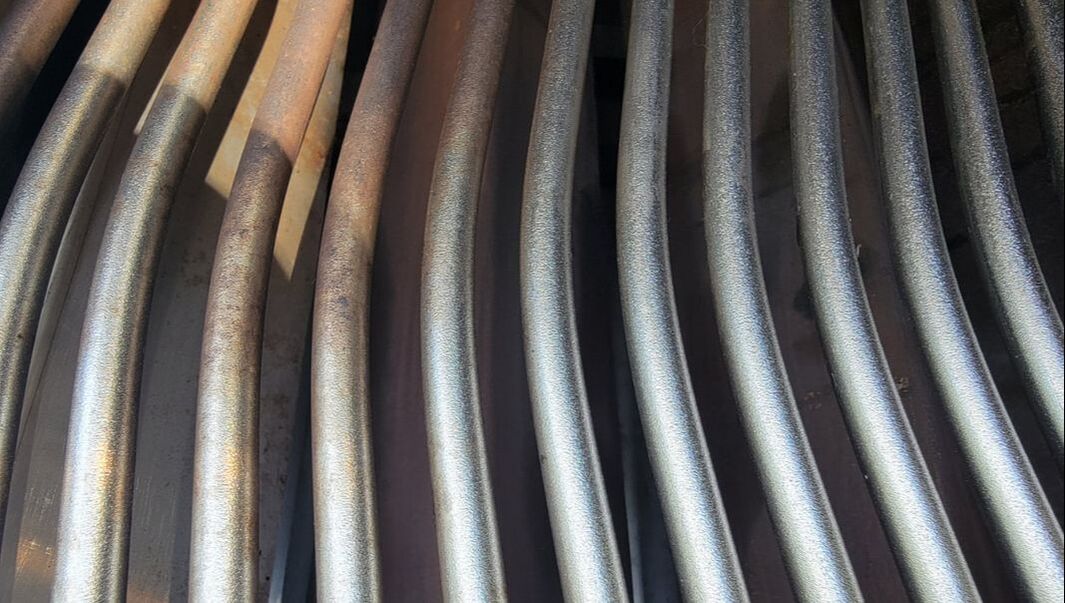
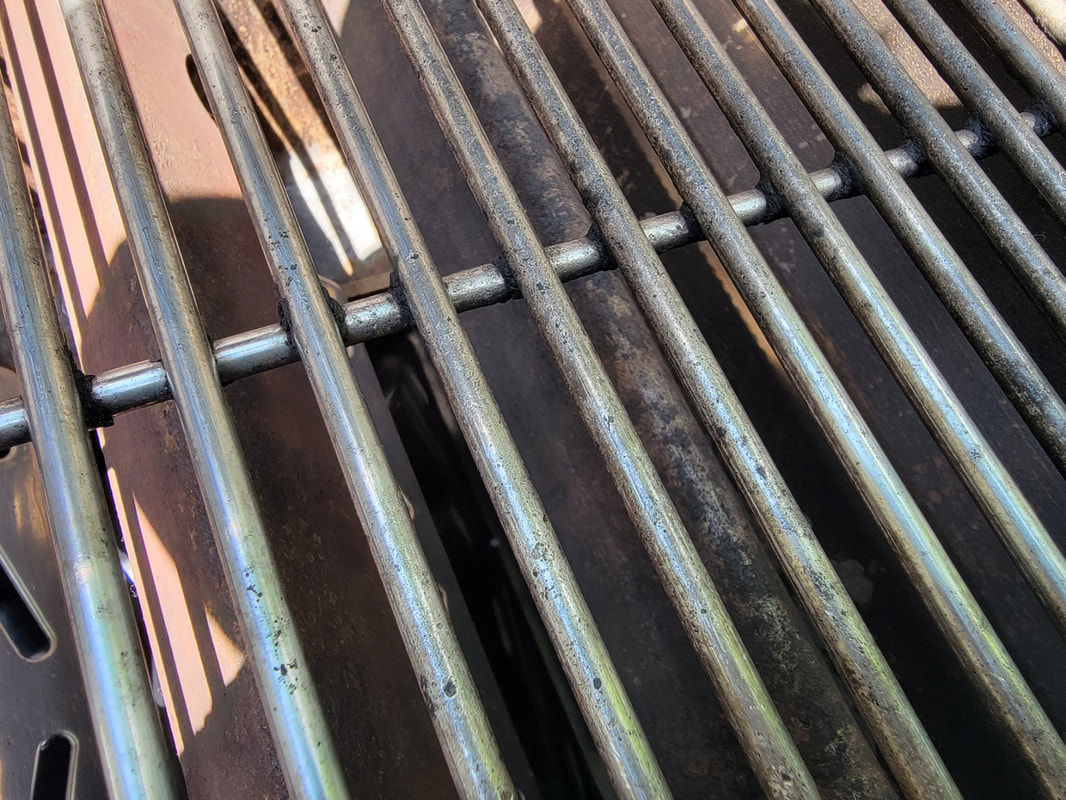
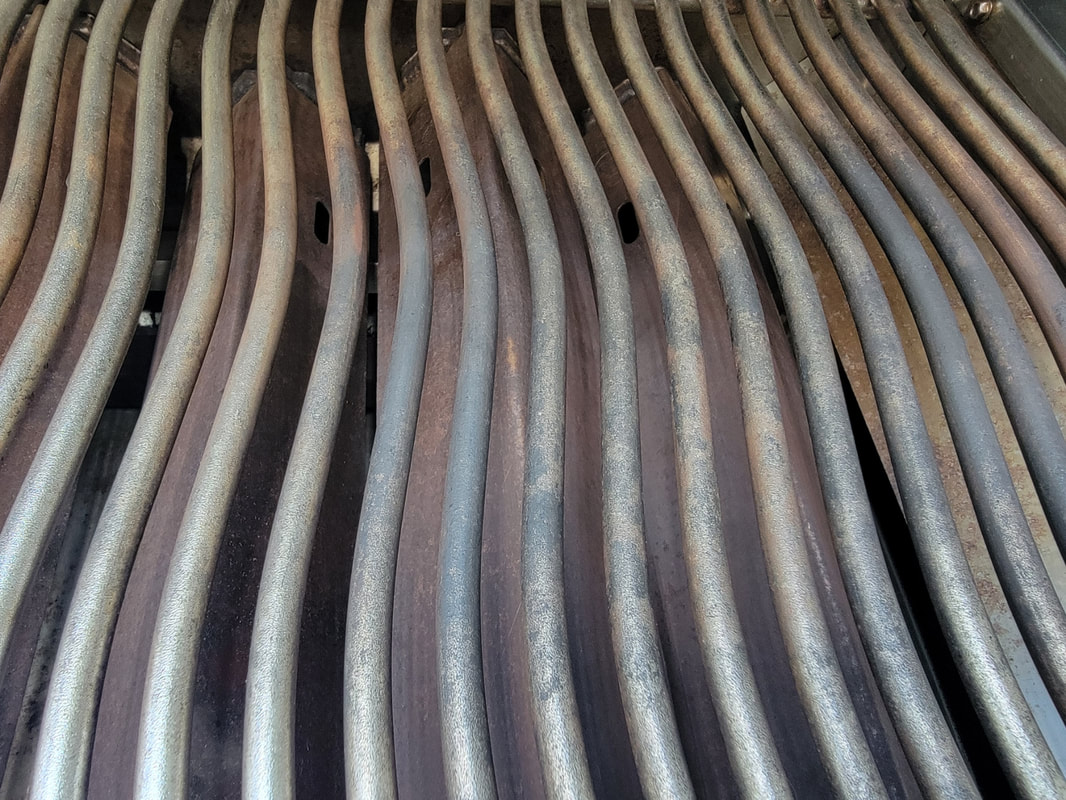
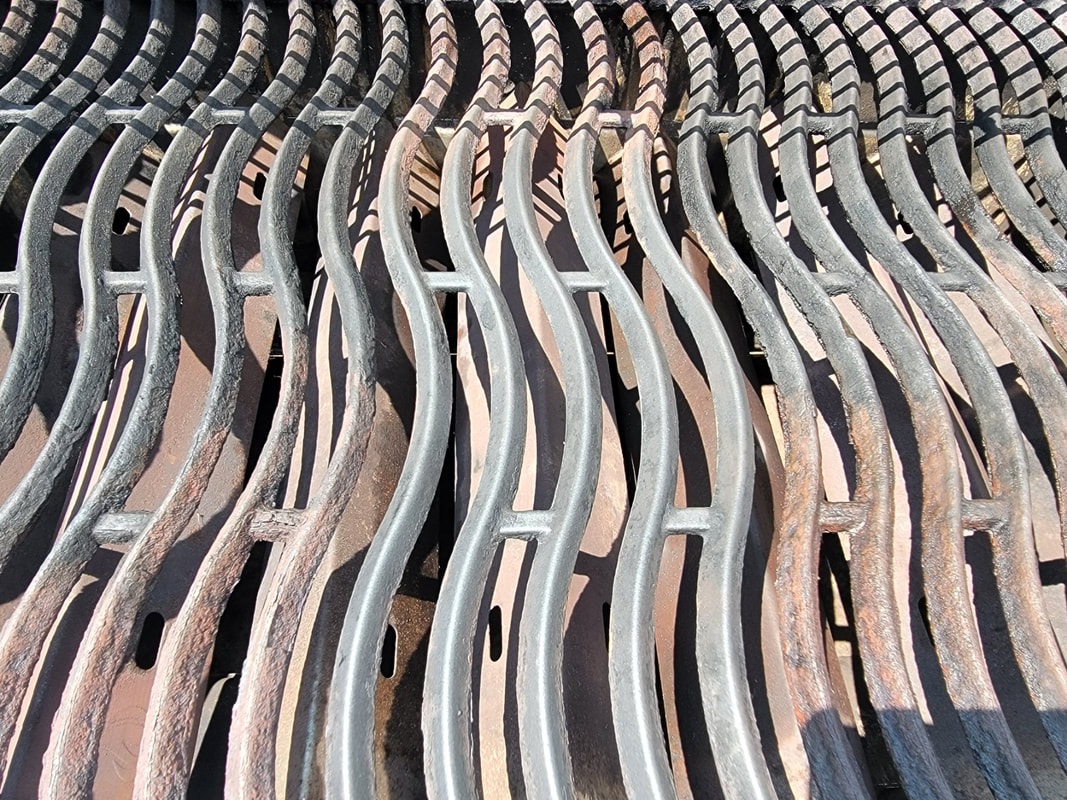
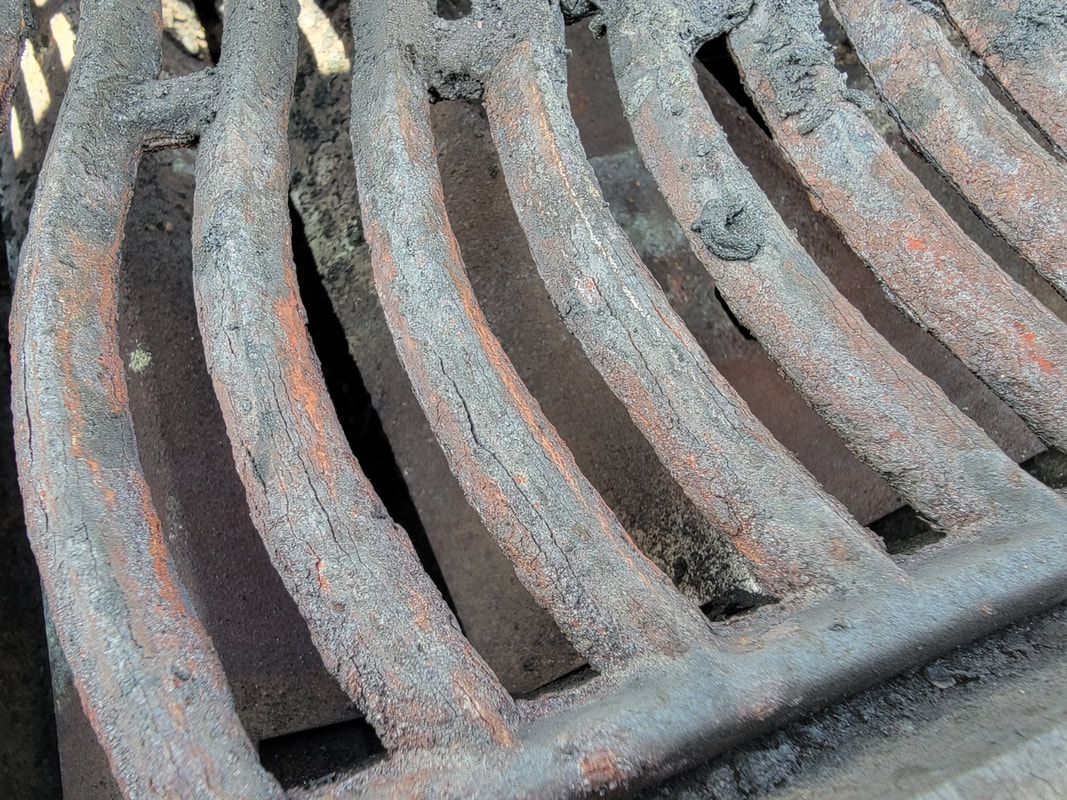
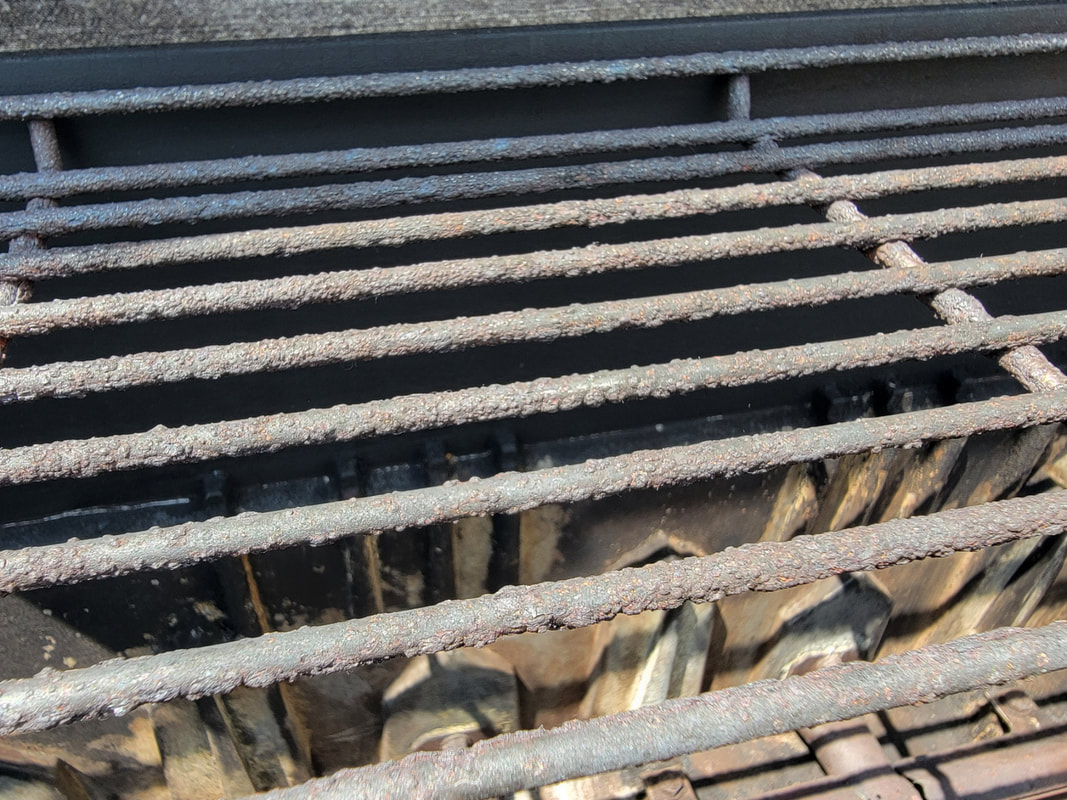
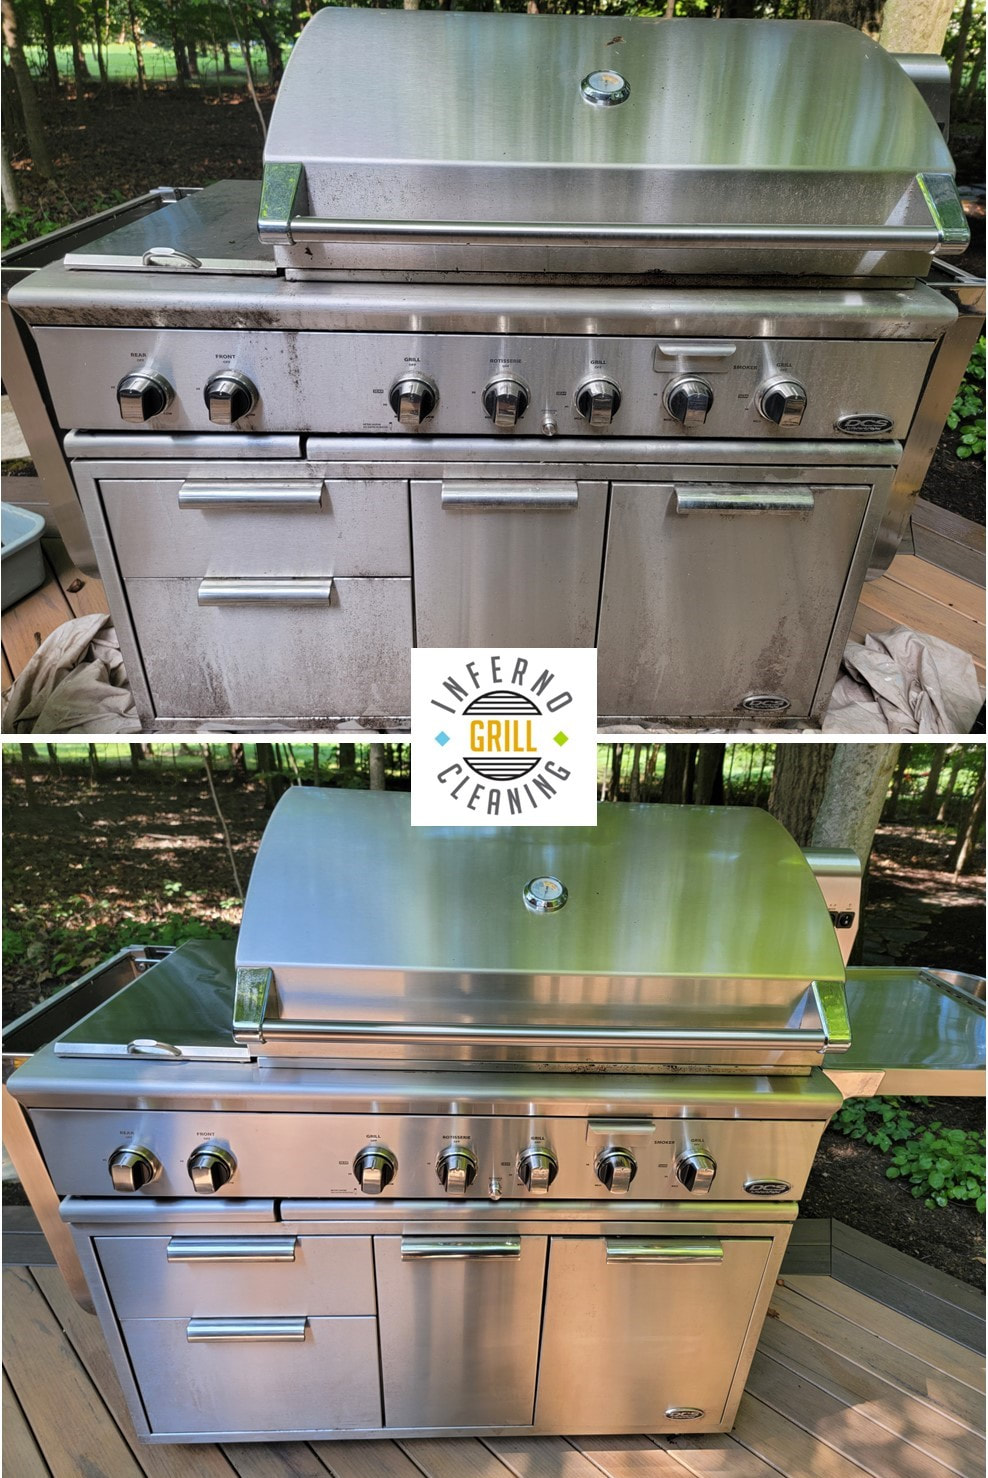
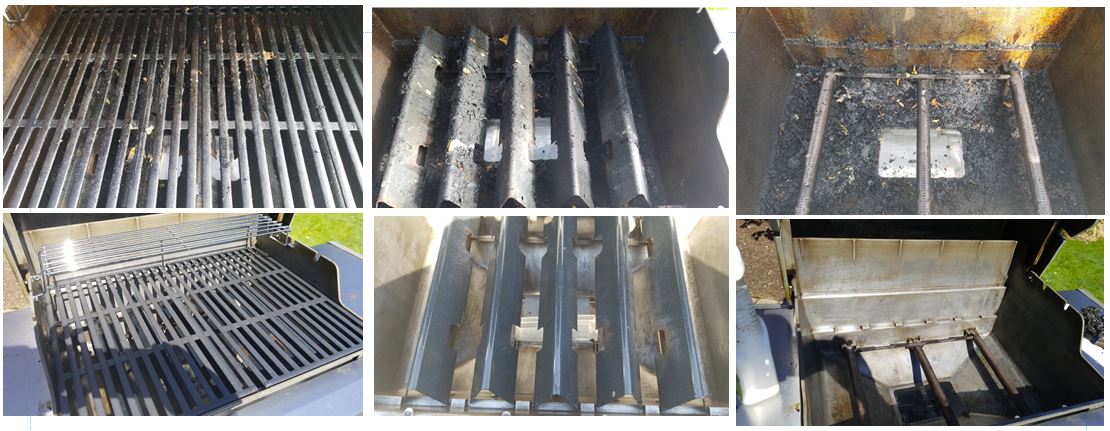
1. Safety first: Before cleaning the grill, ensure it is completely cool to avoid any risk of burns or injuries. 2. Remove the grates: Take out the cooking grates from the grill and place them on a flat surface. If your grill has lava rocks or ceramic briquettes, remove them as well. 3. Scrape the grates: Use a grill brush to scrape off any residue or food particles stuck to the grates. For stubborn, stuck-on debris, you can use a grill scraper or putty knife to carefully loosen and remove it. 4. Soak the grates: Prepare a bucket of warm, soapy water using dish soap or a grill cleaner. Submerge the grates in the water and let them soak for about 15-30 minutes. This will help loosen the grease and make it easier to clean. 5. Clean the grates: Take a sponge or cleaning cloth and scrub the grates thoroughly to remove any remaining residue. Rinse them with clean water and set them aside to dry. 6. Clean the grill's interior: If you have a gas grill, remove the heat deflectors or metal plates covering the burners. Use a grill brush to clean the interior walls, burners, and any other parts inside the grill. Check for clogs or blockages in the burner tubes and remove them if necessary. For a charcoal grill, clean out the ashes and any leftover charcoal pieces. 7. Clean the exterior: Wipe down the outside of the grill using warm soapy water or a grill-safe cleaner. Pay attention to any knobs, handles, and control panels. Rinse and wipe dry. 8. Clean the drip pan/grease tray: Most grills have a drip pan or grease tray to collect excess grease and drippings. Empty and clean this pan regularly to prevent grease buildup and potential flare-ups. 9. Clean the grill grates (optional): If you prefer a thorough clean, you can place the dried grates in the grill and heat it up for about 15-20 minutes. This will burn off any remaining residue and sterilize the grates. 10. Season the grates (optional): If you have cast iron grates or prefer a non-stick surface, you can season the grates with cooking oil or non-stick cooking spray. Apply a thin coat on the grates while they are still warm, but not too hot to touch. 11. Reassemble the grill: Once everything is cleaned and dry, put the grates back into the grill, along with any other components you removed. 12. Regular maintenance: To keep your grill in good condition, make it a habit to clean the grates after each use and perform a more thorough cleaning every few months, depending on how frequently you grill. By following these steps, you can ensure your grill remains clean and functional, ready for the next barbecue session. Inferno Grill Cleaning provides professional grill cleaning services in the Cleveland, Ohio area. We are not always the brains behind every blog post, in fact, we used ChatGPT to create this one. Also, we aren't afraid to sprinkle in our opinions. Thanks for visiting! If you're in Cleveland, give us a call and we'll clean your grill for you! Rust is the biggest culprit when it comes to damage to your outdoor gas grill. Since your grill grates come in direct contact with your food, and are expensive parts to replace, anything you can do to prevent or slow the rusting process is worth the effort when you are trying to get maximum life from your grill! Let's run through some stages of rust and identify when it may be desirable to replace your grates. Of course, we'll give you some tips to prevent or slow the rusting process as well! Stage 1The rust is just becoming visible and you're starting to see some orange color. The grates may still be smooth to the touch and the stainless steel shine is still visible on some of the other grates. In this early stage, it is worth the effort to slow the rusting process to prevent spreading! Tips to Slow the Rust Process!1. Oil your grilling grates with a high-temperature cooking oil or grill spray. Apply after you have cleaned your grates with a grill brush and grill has cooled down, right before you cover. This will ensure you always have a protective barrier of oil against moisture in between grilling sessions! Our favorite product is Crisco Master Grill Spray (main ingredient Soybean Oil). We complete each cleaning session by applying this product for all of our clients. 2. Prevent accumulation of water in your drip pan. If you permit standing water inside of your grill, your moisture level will be consistently higher and speed up the rust process. 3. Keep grill covered. Anything you can do to keep water out helps. 4. Frequent use. The high temperature of grilling will get rid of any moisture camping out on your grates. 5. Clean with a grill brush. Moisture can use leftover food and sauces on your grates to eat away at the stainless steel coating, leading to rust in those areas. We often see rust beginning in these areas. 6. Do not over-heat your grates when burning off excess food/sauces. Overheating can damage the stainless steel coating making it easier for rust to form. 500 degrees or medium high heat will be enough to cook away most buildup enough to make it easy to brush off. Stage 2Here's a close up of rust beginning to eat away the stainless steel coating. Sometimes this looks like small holes. There's still time to follow the steps above in an attempt to stop or slow the spread of rust from taking over. Some of these holes appear microscopic and are all over, creating an overall appearance of full coverage. Once the stainless steel coating has deteriorated, it will grab and hold your food and grease making cleaning more difficult. In stage 2, the coating on your grates begin to feel more gritty than smooth. In the example below, the rust appears more like "coverage" than identifiable holes. Stage 3Rust is starting to get bumpy or flaky in some areas. You may begin to notice that flaky pieces or rust dust is coming off of the grates when cleaning or scraping. Since these pieces could be getting into your food, it is time to begin considering replacing your grilling grates. Stage 4Pieces are flaking off and the grates are rough to the touch. Replacement is recommended. Inferno Grill Cleaning provides professional grill cleaning services in the Cleveland, Ohio area. We are not always the brains behind every blog post and we aren't afraid to sprinkle in our opinions. Thanks for visiting! If you're in Cleveland, give us a call and we'll clean your grill for you!
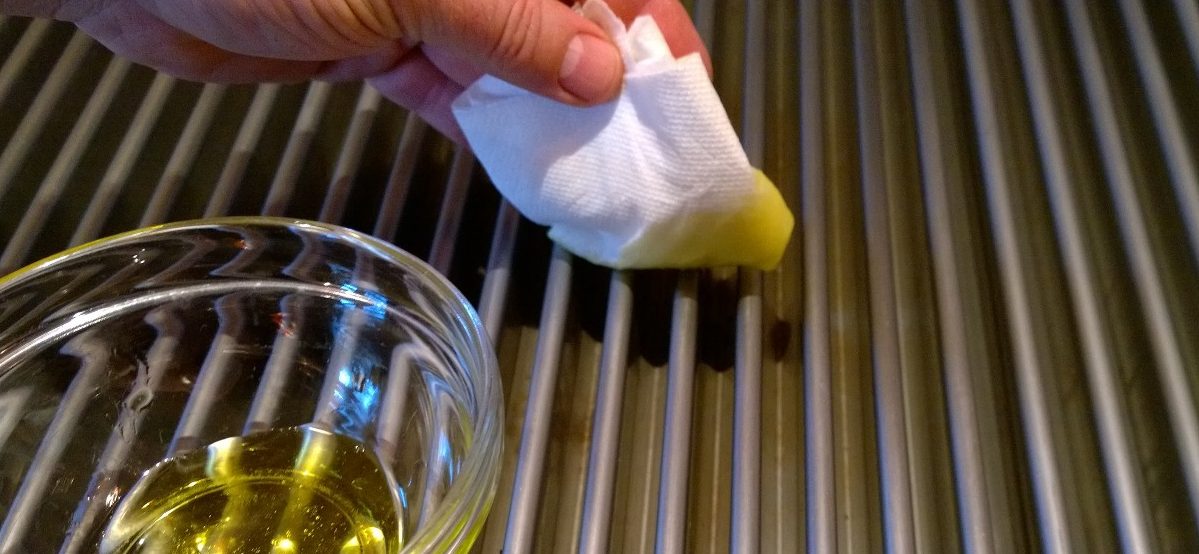
If your grates are new, or were just professionally cleaned, it is important to season your grilling grates prior to your next grilled meal. Over time, grill grates can corrode or get so sticky that it’s nearly impossible to pull food off in one piece. Food that sticks loses juice and dries out when you try to pry and scrape it from a sticky grate. Seasoning your grill grates will fix this problem! Seasoning grates remove contaminants, repels rust and seals pores to stop food from sticking. Seasoning before and after you grill will make cleaning easier and make your food taste better. Easy Steps to Seasoning Your Grill Step 1. Start with a cool grill. With the grill off, use a paper towel to coat the surface with a thin layer of the grate with high-temperature cooking oil. Canola oil and peanut oil work well because they have a smoke point over 450 degrees, but you can also use coconut oil, spray-can vegetable, sunflower, avocado or grill oils. Step 2. Wipe any excess oil off the grate with a paper towel, then turn the grill on medium for about 15-20 minutes. The target temperature is around 220-350 degrees. You want to see the oil start to smoke, but are avoiding burning. By the end, the grates should become dark. If your grates are new, or professionally cleaned, some people choose to repeat this process a second time prior to your first grill. Tip: After each use, burn away excess with 10 minutes of medium-high heat. Brush away any food debris to clean off the grates. Let the grill cool. Then lightly apply a coat of high-heat cooking oil for next time. We believe that oiling your grates is one of the most important steps you can take to prevent rust. For more rust-preventing tips, check out this blog post: Happy Grilling! Inferno Grill Cleaning provides professional grill cleaning services in the Cleveland, Ohio area. We are not always the brains behind every blog post. Various sources were used to gather information for this article, including sabergrills.com, tasteofhome.com and weber.com.
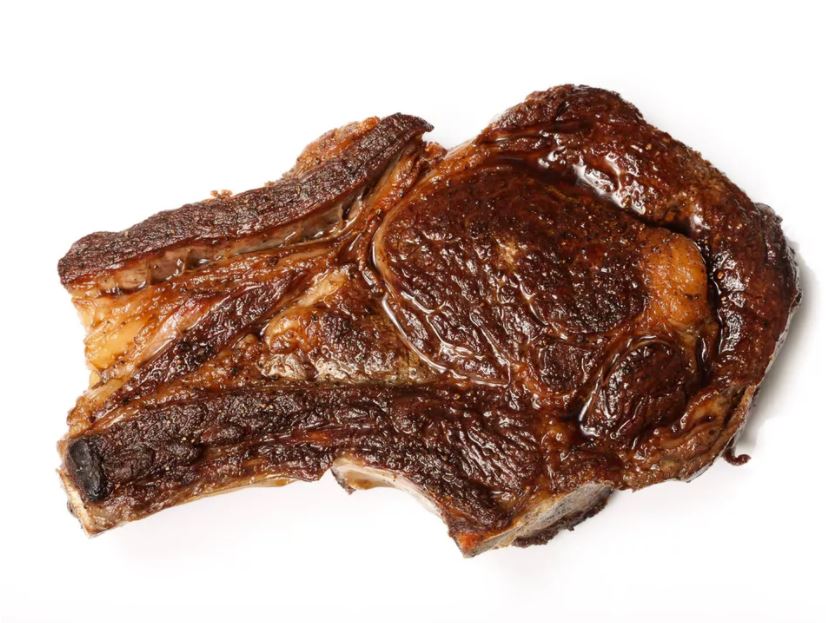
We've scoured the internet for advice from America's top chefs and industry partners on how to grill the perfect steak! Here's what we've found!
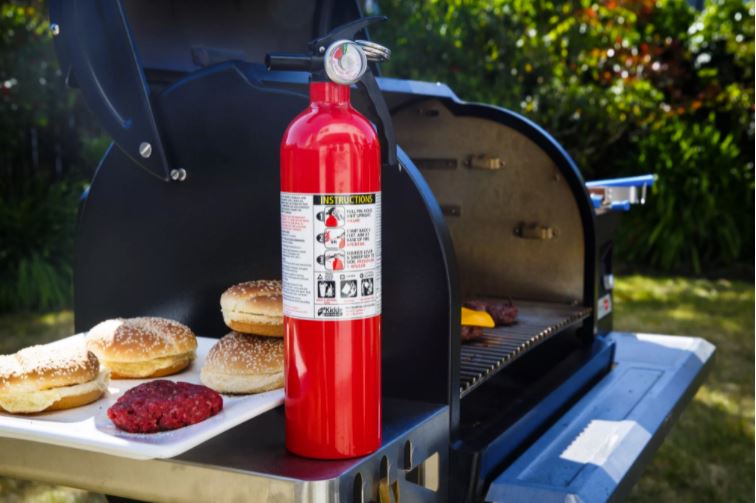
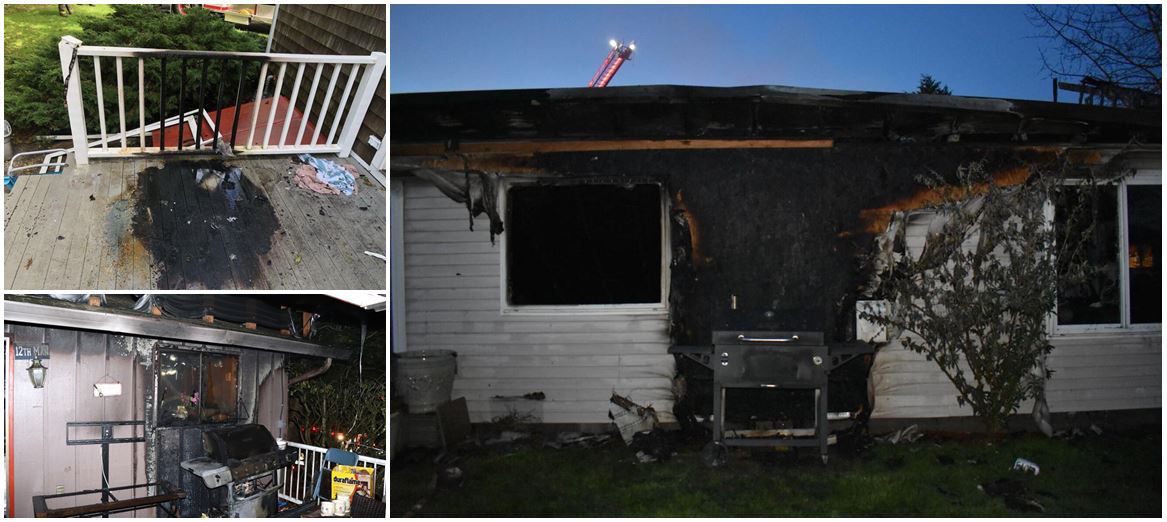
1. Salt your steak an hour ahead of time. Salt helps pull out juices from the steak. When applied an hour ahead, it will pull out the juices and then the steak will reabsorb them back in, giving you more concentrated flavor. If you don't have an hour, salt immediately before and you'll be enjoying that restaurant-quality crust you notice when you eat out. 2. Allow your steak to reach room temperature before grilling. Starting your grilling session with room temperature meat helps for quicker grilling, and more importantly, will provide you an even cooking temperature throughout your protein. 3. Pre-heat your grill. One of the worst mistakes people make is not giving the grill enough time to heat up. If you're cooking with coals, think 30 minutes with the vents open. A 3 minute high-temperature sear on each side right away will hold in tasty juices. 5. Start with a clean grill. Use a sturdy metal brush to remove any buildup on your grates. This is easier when your grill is hot. We recommend turning your grill up to a high temperature burn first, and then using your grill brush to remove any buildup. Do this both before and after each grilling session so build up is not sitting on your grilling grates in between grilling sessions. 6. Less flipping is better! One to two flips is ideal for most meats. If it's sticking to the grates, wait a bit longer. It will not stick when it's ready to flip. 7. Keep a spray bottle handy for flare-ups. Too much flame equals unpleasant charring and uneven cooking, two of the biggest culprits of bad taste. Simply spray water on flareups to dampen them while not interfering with your temperature. Too many flare-ups may be an indicator that it's time to clean the inside of your grill. 8. Undercook slightly! Food continues to cook about 5 degrees after it leaves the grill. Anticipate this carryover cooking at the table while you are giving your meal time to rest before serving. 9. Let the meat rest for 5-15 minutes. Resting your meat gives the juices an opportunity to redistribute into the steak! 10. Use a meat thermometer! The technology exists, why miss and end up with an overcooked meal? You may be tempted to use it in your thickest steak (similar to inserting into the thickest part of meat when oven cooking), however, we contend choosing the quickest cooking steak. Once you hit medium on that piece, your other steaks will be hovering in the medium-rare range you're shooting for (at least, that's how we like it)! Sources: Foodnetwork, Salon, Serious Eats. 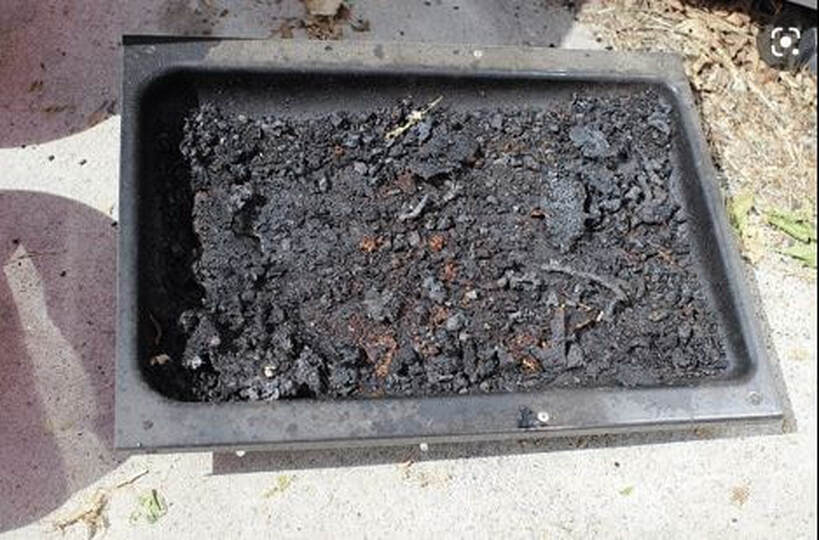 According to the National Fire Protection Association, over 10,000 home fires are started by grills each year. Don't let your cookout turn into one of those fires! Here's a collection of preventative tips so you don't end up with a grill fire of your own... 1. Whether you're cooking indoors or out, it's always important to keep a fire extinguisher nearby. If you don't have a good place to store one outdoors, keep it inside the nearest entrance to your home. 2. Fire safety when grilling also means checking the grill's interior and grease collection tray. A full tray should always be emptied to avoid a grease fire. If you are noticing any flareups from the area of your burners, it could be an indication that there is too much buildup inside your grill and a deep cleaning is overdue. 3. Make sure grease is not allowed to drip onto the hose, gas cylinder/tank, or inside the cabinet. Keeping fire inside the grill is the top priority. Making sure that grease does not build up near your fuel source is important in preventing a dangerous fire. 4. While barbecues are prone to flame up when grease starts to collect, it is not just your grease tray that you should be keeping an eye on. Outdoor grills are often placed in hazardous locations too close to the house, deck railings, outdoor sheds and under patio awnings. To help ensure a safe grilling and BBQ experience, place your grill at least 10 feet from the home or other structures. Also make sure there are no obstructions like a patio awning or tree branches above the grill that could catch on fire while you are grilling. Putting Out a Grill Fire... Flare ups from cooking food on the grill are natural. However, when the flames on your BBQ become too large or spread to adjacent areas, it is important to have a fire extinguisher within reach and know how to use. 1. If your gas grill catches fire, the first thing you should do is attempt to turn off the burners and gas source. If you can reach the knobs safely (on a gas grill), this will help stop additional fuel from feeding the fire and creating a larger problem. If the propane tank itself is involved in the fire, evacuate the vicinity and call 911. 2. Close the grill lid and all grill vents, as a lack of oxygen will help to starve the fire of oxygen and slow it down. 3. Attempt to smother the fire. Never spray water onto a grease fire! Water will intensify the fire and it will spread. Throw salt, baking soda or sand onto the fire to smother the flames. 4. Use a fire extinguisher to extinguish the flames using the P.A.S.S. technique - pull, aim, squeeze, and sweep. Once the fire has been put out, make sure to switch off any burners on the grill that were still on. Sources: cnet, Quirk Books, First Alert  Dave is the Founder & Owner of Inferno Grill Cleaning, a Cleveland-based BBQ Grill Cleaning Service specializing in the deep cleaning & sterilization of outdoor grills. Thank you for stopping by! Please take a moment and get to know Inferno Grill Cleaning by visiting www.infernogrillclean.com |
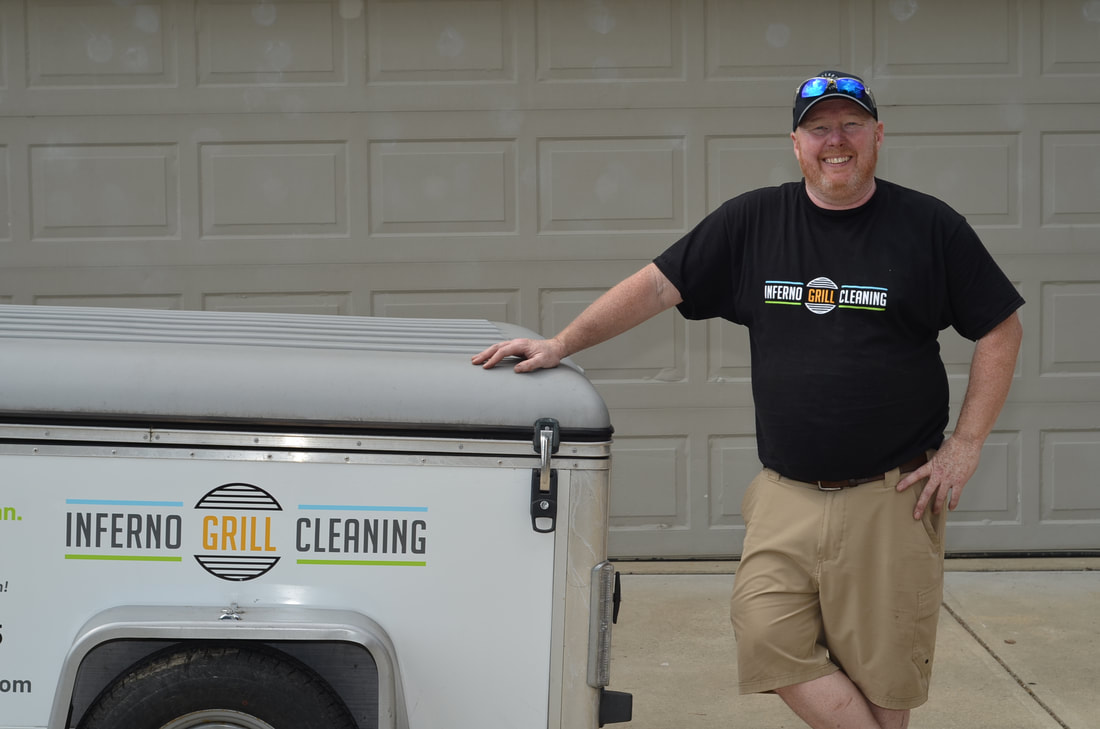
AuthorDave is the Founder & Owner of Cleveland-based Inferno Grill Cleaning. Archives
July 2023
Categories |
*Booking your appointment online is by far the quickest way to communicate with us.
Email Us | About Inferno GC | 2024 Pricing | Season Plans | Book Your Grill Cleaning | Employment | For Sale
Welcome to all current and former customers of The Cleveland Grill Cleaning Co! We look forward to serving you!
"Nothing adds flavor like flare ups from crusty grease, fat, and burnt chunks of last year's chicken!"
- Nobody, ever.
- Nobody, ever.









 RSS Feed
