|
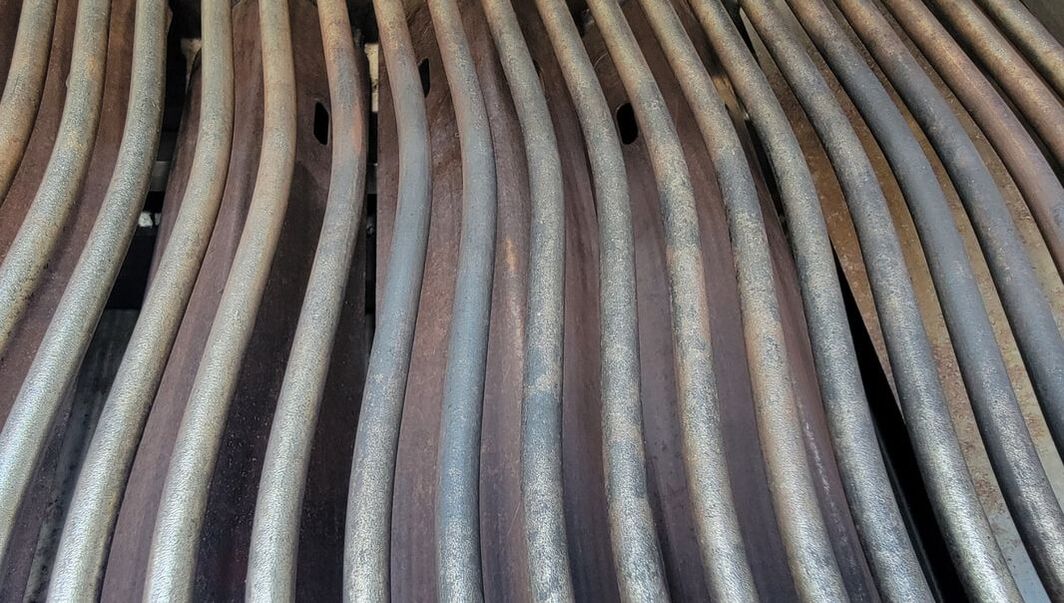
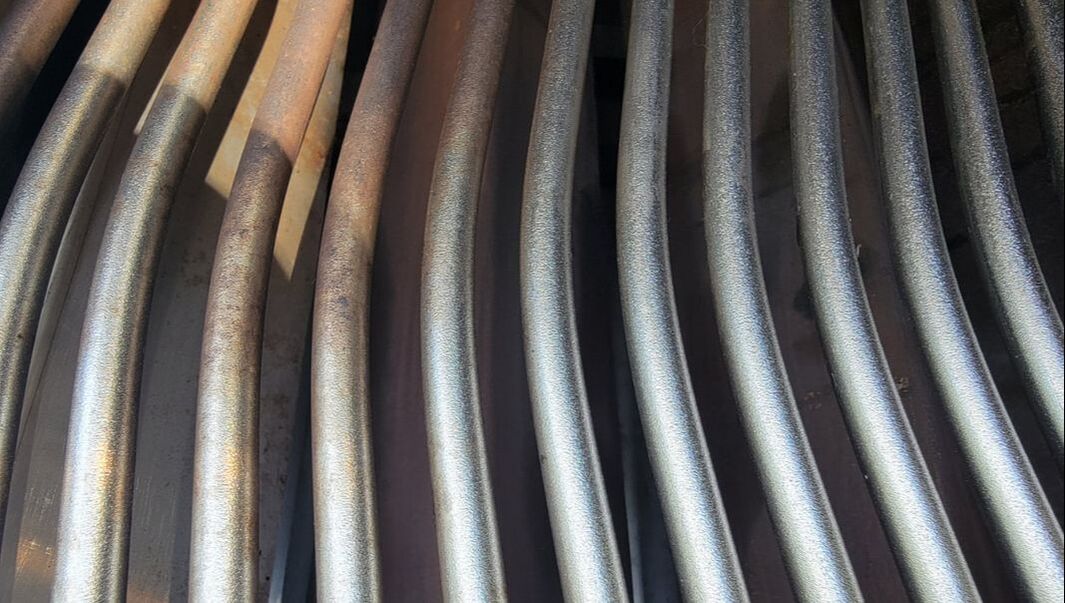
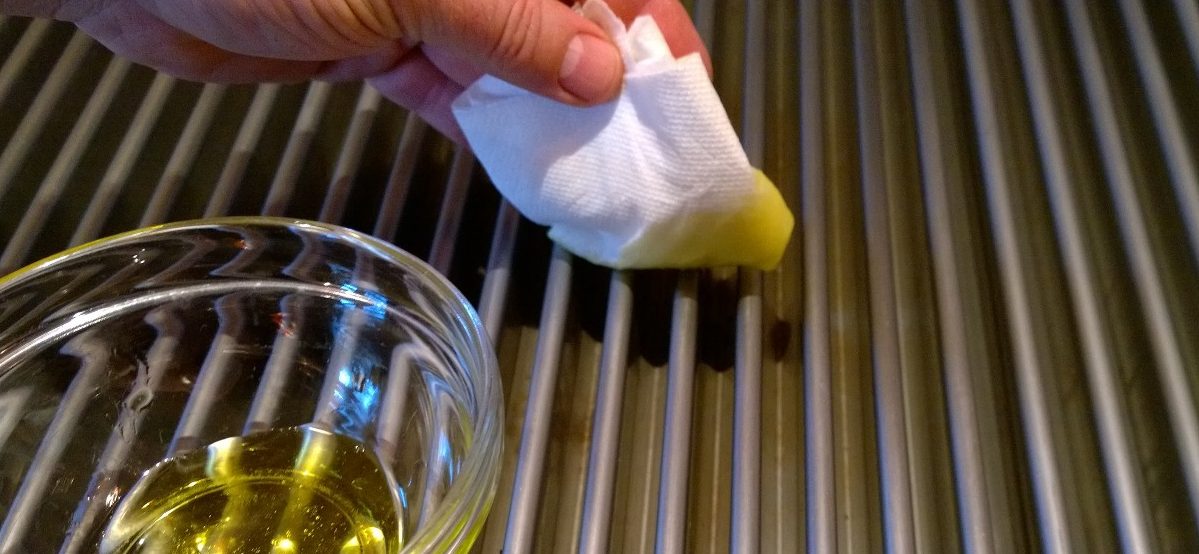
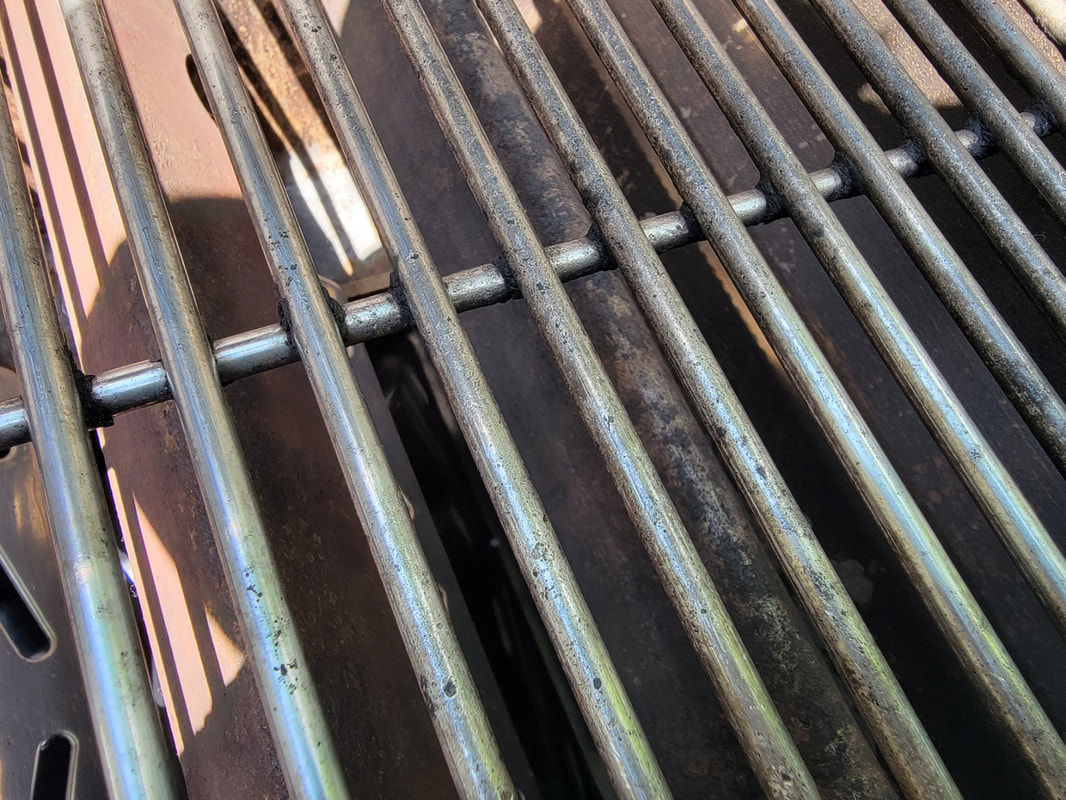
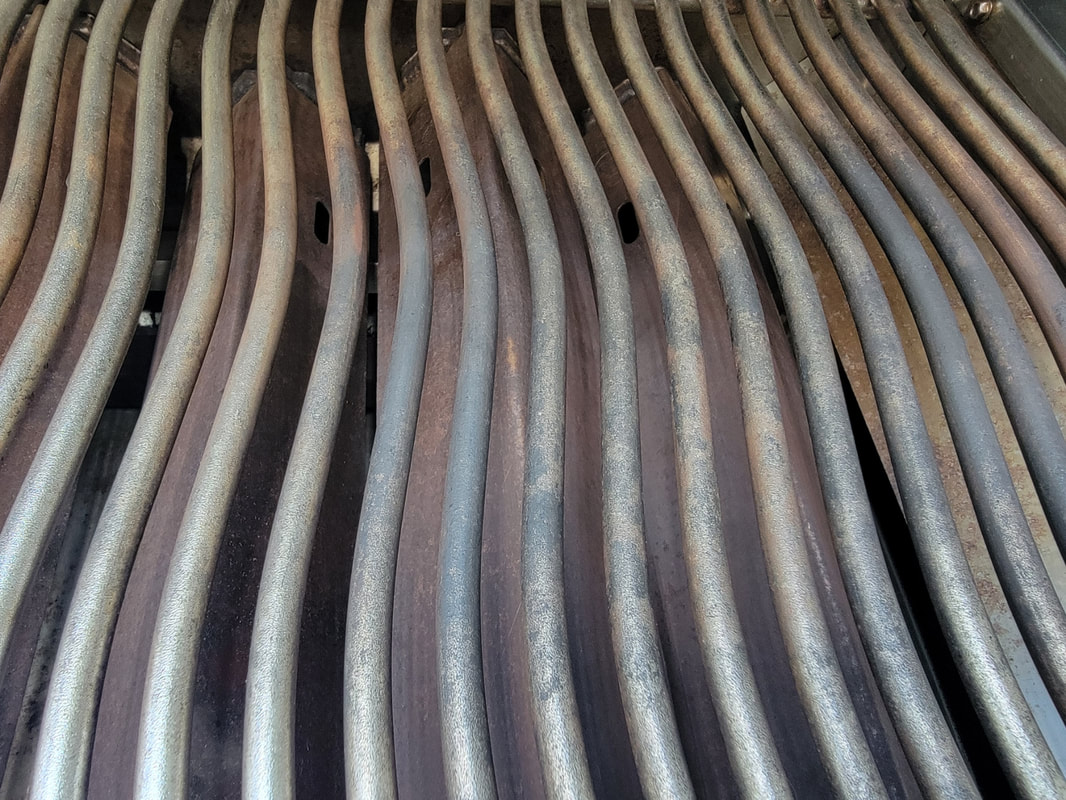
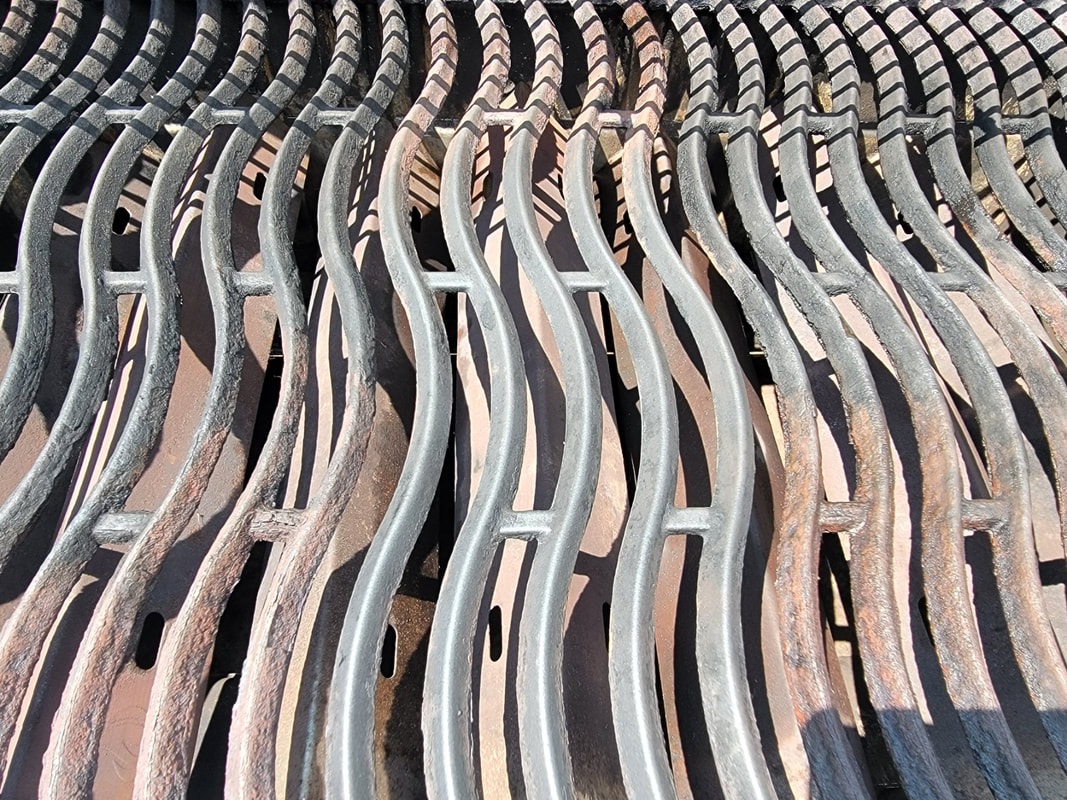
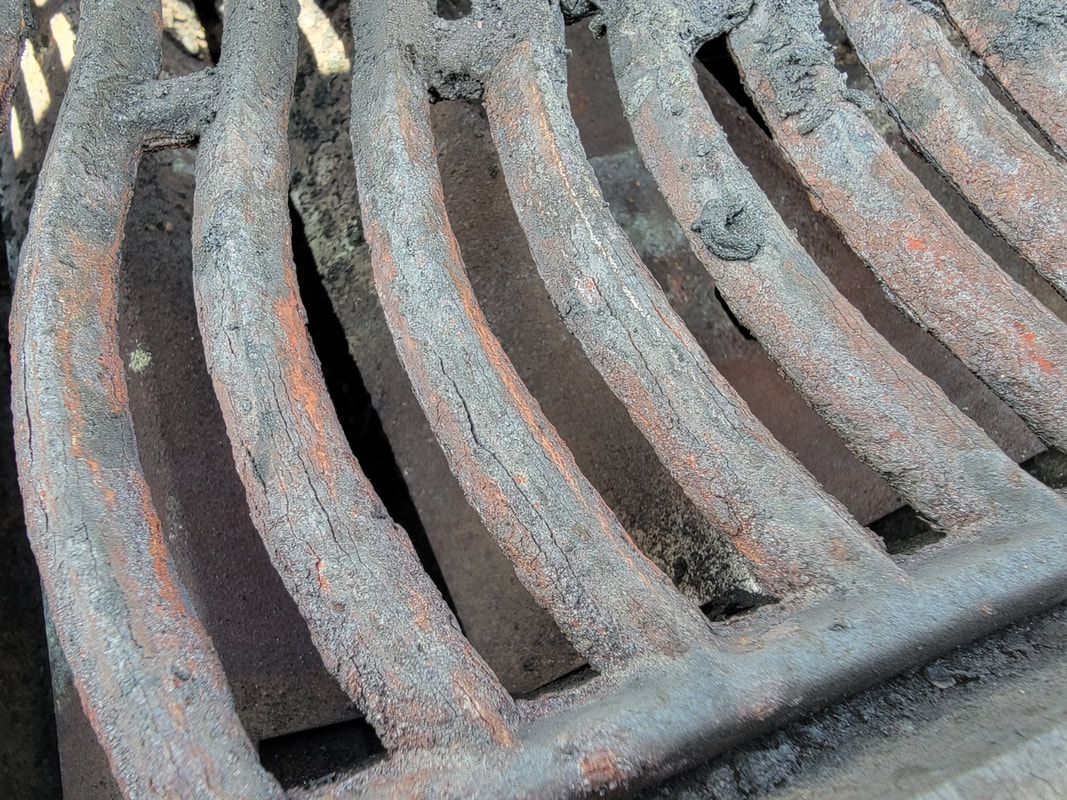
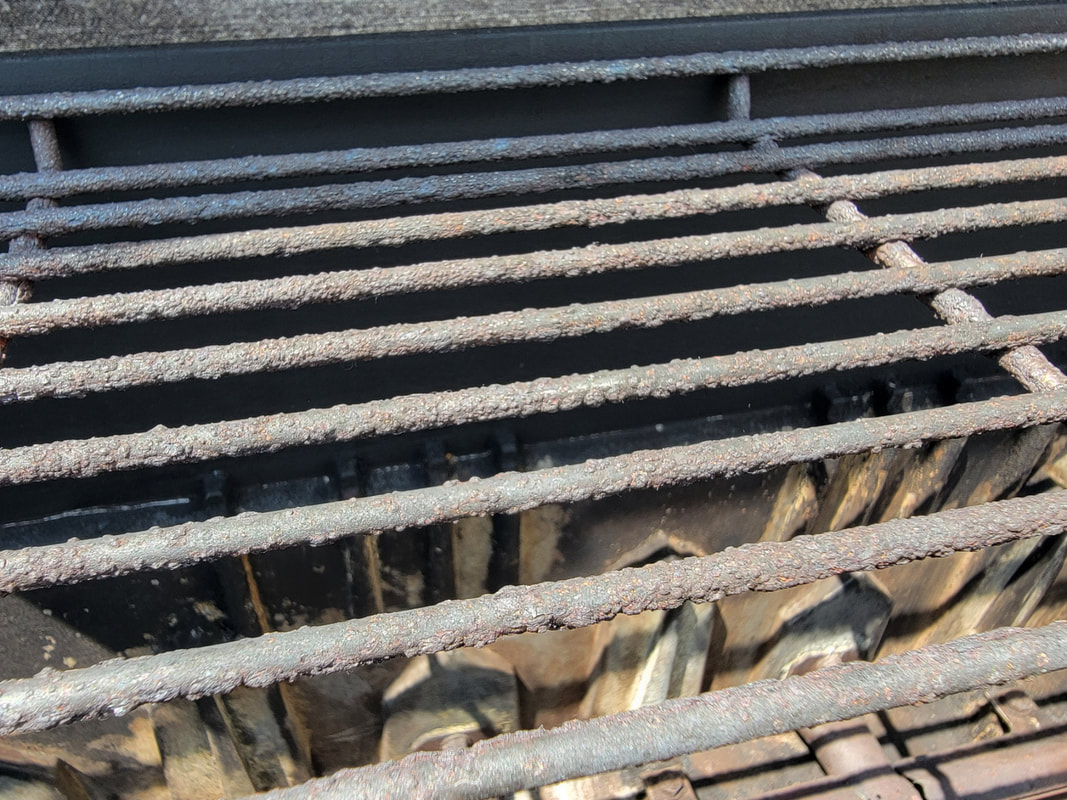
Rust is the biggest culprit when it comes to damage to your outdoor gas grill. Since your grill grates come in direct contact with your food, and are expensive parts to replace, anything you can do to prevent or slow the rusting process is worth the effort when you are trying to get maximum life from your grill! Let's run through some stages of rust and identify when it may be desirable to replace your grates. Of course, we'll give you some tips to prevent or slow the rusting process as well! Stage 1The rust is just becoming visible and you're starting to see some orange color. The grates may still be smooth to the touch and the stainless steel shine is still visible on some of the other grates. In this early stage, it is worth the effort to slow the rusting process to prevent spreading! Tips to Slow the Rust Process!1. Oil your grilling grates with a high-temperature cooking oil or grill spray. Apply after you have cleaned your grates with a grill brush and grill has cooled down, right before you cover. This will ensure you always have a protective barrier of oil against moisture in between grilling sessions! Our favorite product is Crisco Master Grill Spray (main ingredient Soybean Oil). We complete each cleaning session by applying this product for all of our clients. 2. Prevent accumulation of water in your drip pan. If you permit standing water inside of your grill, your moisture level will be consistently higher and speed up the rust process. 3. Keep grill covered. Anything you can do to keep water out helps. 4. Frequent use. The high temperature of grilling will get rid of any moisture camping out on your grates. 5. Clean with a grill brush. Moisture can use leftover food and sauces on your grates to eat away at the stainless steel coating, leading to rust in those areas. We often see rust beginning in these areas. 6. Do not over-heat your grates when burning off excess food/sauces. Overheating can damage the stainless steel coating making it easier for rust to form. 500 degrees or medium high heat will be enough to cook away most buildup enough to make it easy to brush off. Stage 2Here's a close up of rust beginning to eat away the stainless steel coating. Sometimes this looks like small holes. There's still time to follow the steps above in an attempt to stop or slow the spread of rust from taking over. Some of these holes appear microscopic and are all over, creating an overall appearance of full coverage. Once the stainless steel coating has deteriorated, it will grab and hold your food and grease making cleaning more difficult. In stage 2, the coating on your grates begin to feel more gritty than smooth. In the example below, the rust appears more like "coverage" than identifiable holes. Stage 3Rust is starting to get bumpy or flaky in some areas. You may begin to notice that flaky pieces or rust dust is coming off of the grates when cleaning or scraping. Since these pieces could be getting into your food, it is time to begin considering replacing your grilling grates. Stage 4Pieces are flaking off and the grates are rough to the touch. Replacement is recommended. Inferno Grill Cleaning provides professional grill cleaning services in the Cleveland, Ohio area. We are not always the brains behind every blog post and we aren't afraid to sprinkle in our opinions. Thanks for visiting! If you're in Cleveland, give us a call and we'll clean your grill for you!
1 Comment
|
AuthorDave is the Founder & Owner of Cleveland-based Inferno Grill Cleaning. Archives
July 2023
Categories |
*Booking your appointment online is by far the quickest way to communicate with us.
Email Us | About Inferno GC | 2024 Pricing | Season Plans | Book Your Grill Cleaning | Employment | For Sale
Welcome to all current and former customers of The Cleveland Grill Cleaning Co! We look forward to serving you!
"Nothing adds flavor like flare ups from crusty grease, fat, and burnt chunks of last year's chicken!"
- Nobody, ever.
- Nobody, ever.

 RSS Feed
